
A few LEGO gears can turn a small build into a working machine
Start with direction and speed, then use one simple experiment to see what your mechanism is doing.
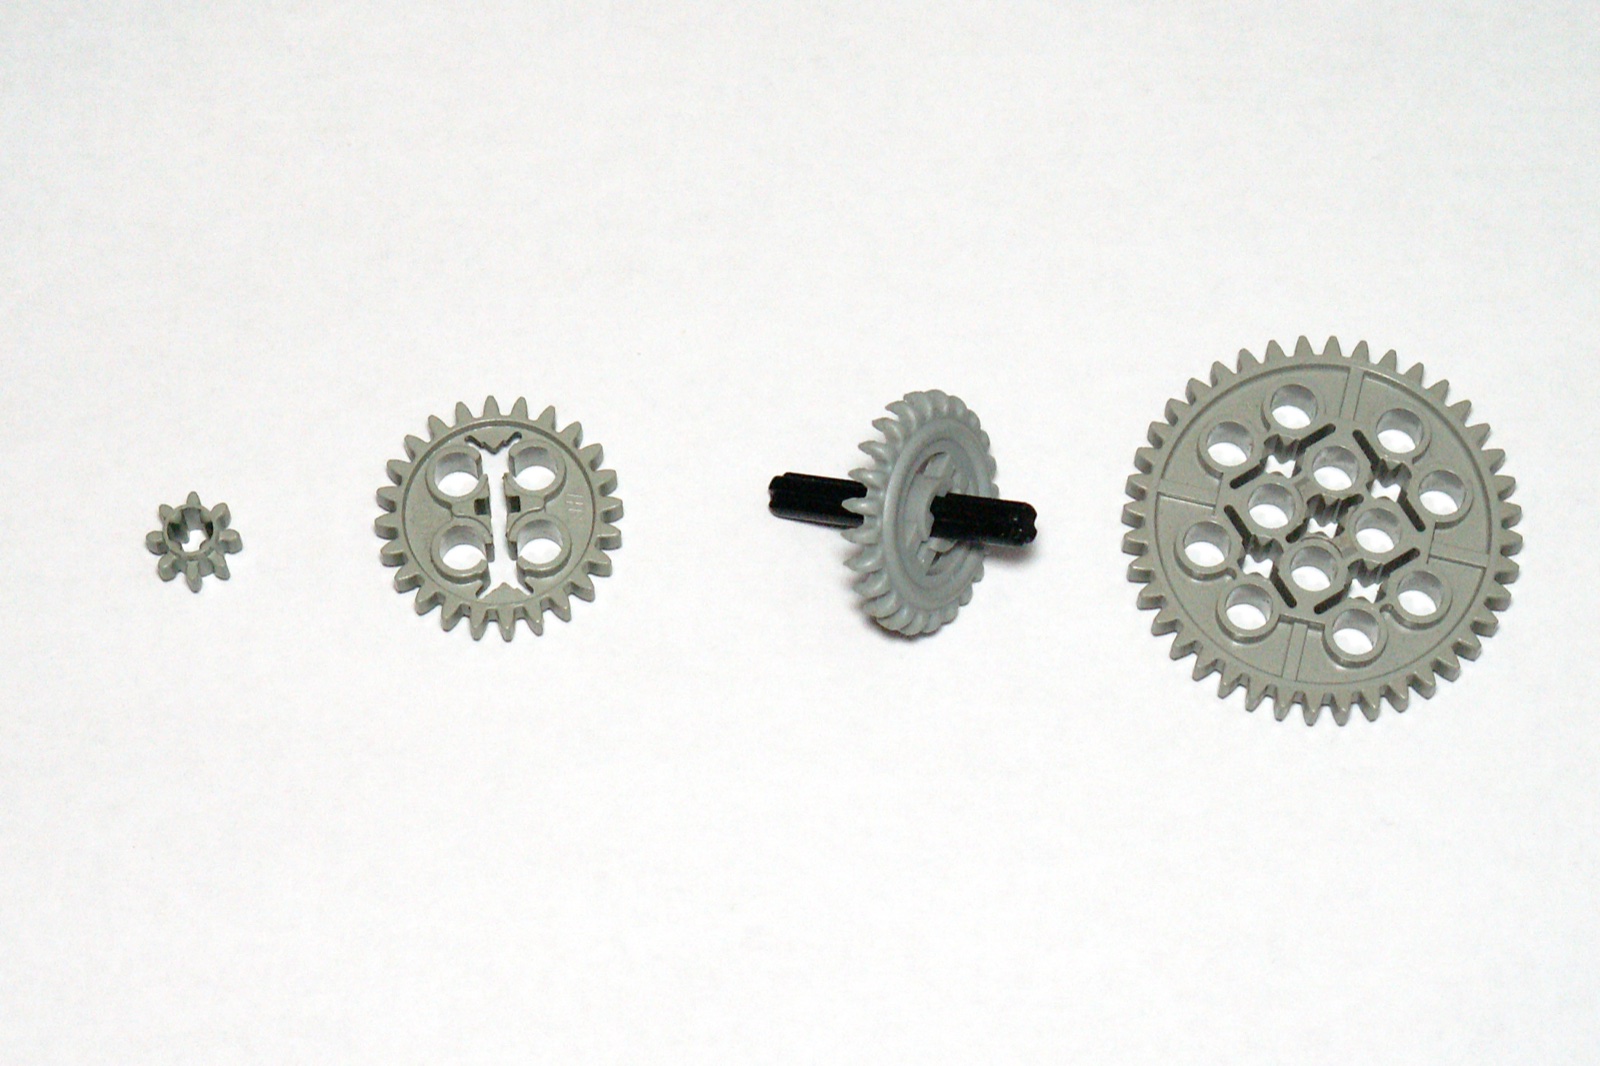
A different question to ask of a LEGO model
LEGO’s history places the introduction of Technic in 1977, describing a range intended to offer older children more complex models with technical functions. That idea changes the question at the building table: alongside asking what a model looks like, you can ask what happens when a part moves.
A small gear assembly is a useful place to begin. You do not need to design an entire vehicle to explore the principle. A supported pair of axles and correctly meshed gears can make cause and effect visible with a turn of your hand.
Watch the direction before counting the turns
In a simple pair of meshing external gears on parallel axles, turning one makes the other rotate in the opposite direction. When both have the same number of teeth, they turn at the same speed. LEGO Education uses this arrangement to introduce drive and driven gears: the drive gear receives the input, and the driven gear follows.
Adding a single idler gear between them makes the first and last gears turn in the same direction. In that simple arrangement, the middle gear changes direction without changing the speed relationship between the first and last.
Different tooth counts change the speed
A larger drive gear turning a smaller driven gear increases output speed; reversing that relationship slows the output. LEGO Education also explains the associated trade-off in turning force. Faster rotation does not mean a mechanism has gained free power.
For a clear first observation, mark a starting position on each axle with an attached LEGO element. Turn the input slowly through one complete revolution and watch how far the output travels. Count teeth as well as turns. The experiment is much easier to discuss when you can identify exactly which gear is receiving the input.
Make one change and keep a short record
LEGO Education’s First Gear lesson recommends recording predictions, observed rotations and turning direction. You can borrow that habit for a hand-powered experiment even if you are not following its motorized classroom model. Note your starting arrangement, make one change and compare the result.
Our suggestion is to focus on a single useful motion: turning a sign, raising a small feature or animating part of a display. Build a stable test assembly before hiding it inside scenery. If it binds, stop and inspect the spacing and supports. Understanding a small working mechanism gives you something dependable to develop into a larger idea.
Reporting checked September 27, 2026. Plans and programs can change; follow the linked organizations for current information.