
The humble brick separator deserves a place beside every build
A practical guide to separating plates, positioning stickers and making the next rebuild easier.
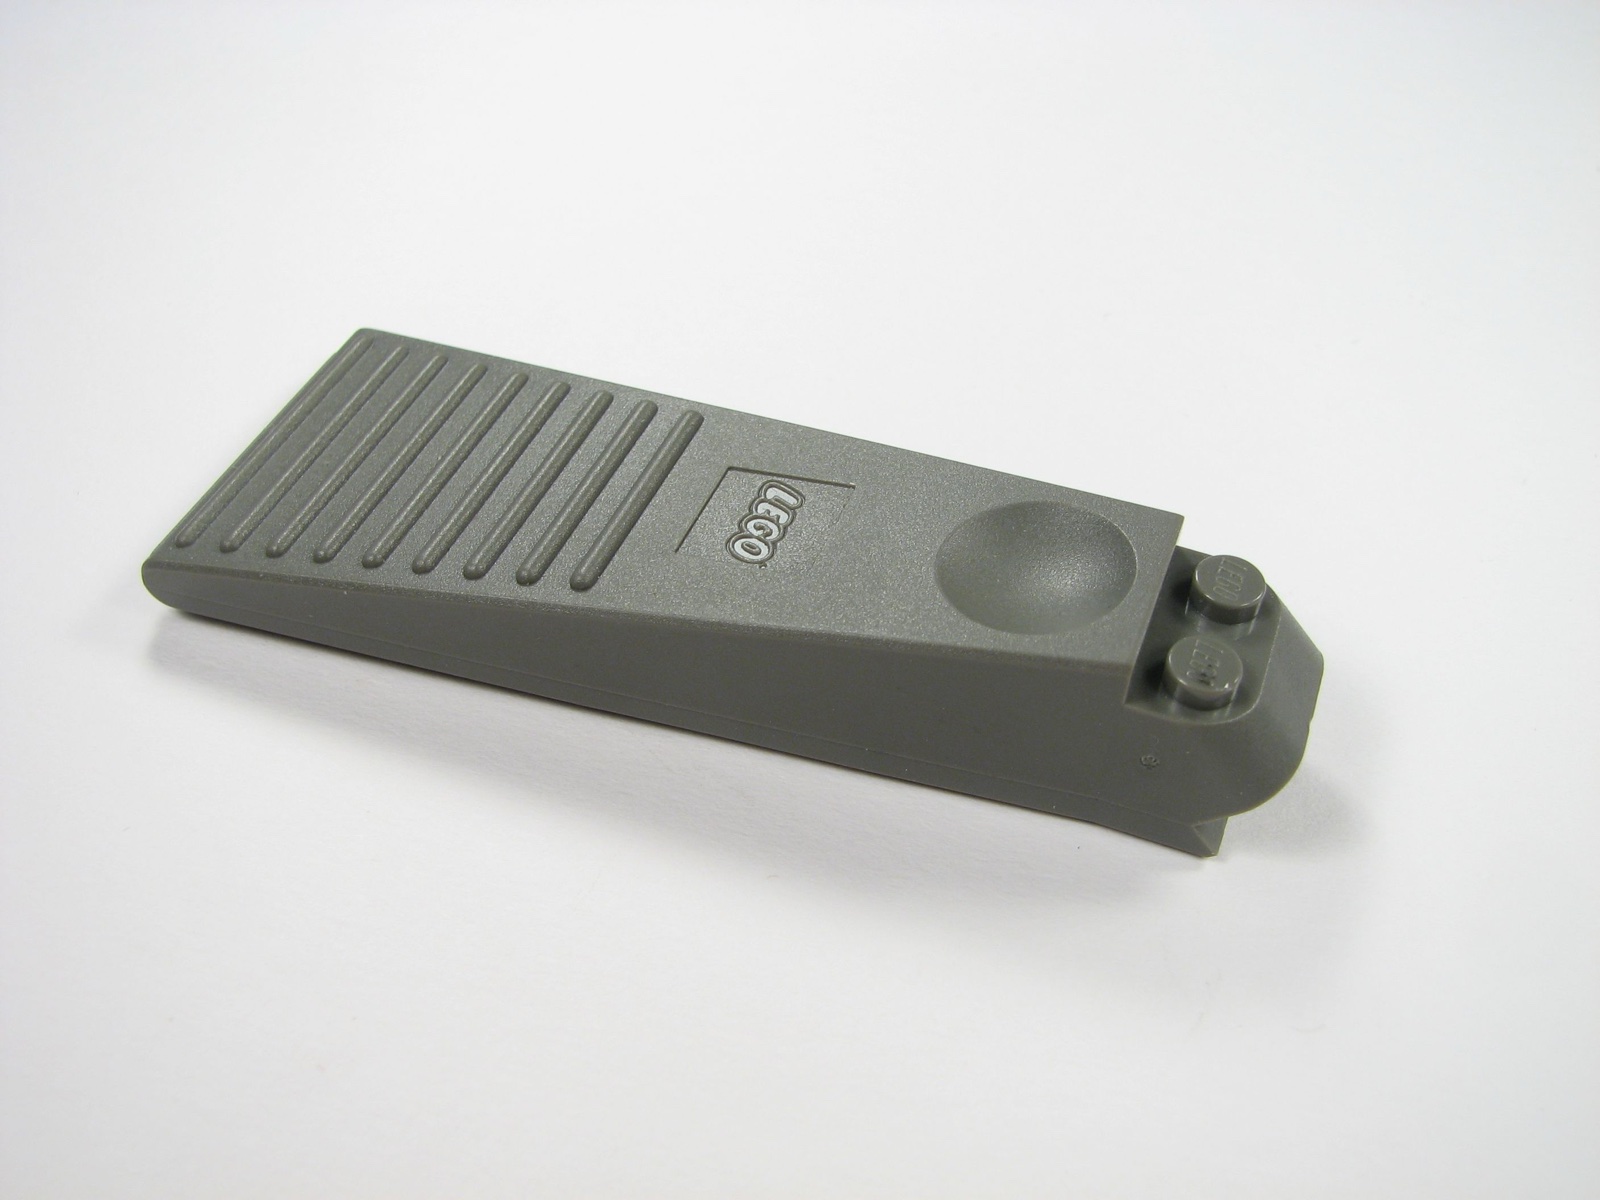
A useful tool for the moment you change your mind
Taking a model apart is part of building: a misplaced plate needs moving, an experiment needs revising, or a favorite color is needed somewhere else. A brick separator gives you a handle and an angled contact point for doing that work. LEGO publishes illustrated instructions that show which way to move it for different connections.
Keep that guide nearby the first time you try the tool. The photograph here shows an older gray separator; its shape differs from newer versions. Check the tool you actually have before following a technique that depends on a particular feature.
Top and bottom connections use opposite motions
For a plate attached on top of another element, LEGO’s guide says to connect the front of the separator over two studs, steady the rest of the build and press the handle downward. The tool’s angle lifts the attached plate.
For a plate stuck underneath, attach the separator’s two front studs into the underside of that plate. Support the other piece and lift the handle upward instead. The direction changes because the connection is on the opposite face. Read the accompanying pictures before applying pressure; a controlled movement is easier to understand when you can see which part should move.
It can help with stickers, too
LEGO’s sticker advice includes using a separator’s flat edge to hold a sticker while positioning it, then a flat edge to smooth bubbles. That gives the tool a second job during assembly, well before any pieces need to come apart.
Our practical suggestion is to prepare the work area first: put the intended element beside the sticker sheet, match the sticker number to the instructions, and check its orientation before lifting it. Good lighting and a clear table give you time to notice an upside-down detail before it is attached.
Make rebuilding an ordinary part of the session
One useful habit is to place the separator in the same visible spot each time you build. If you are sharing the table, agree where loose pieces and removed subassemblies will go, too. That small arrangement makes it easier to pause, correct a step and continue without losing track of what changed.
For a first practice, use a simple pair of ordinary pieces before approaching a detailed section of a larger model. If a connection is unclear, stop and examine it rather than escalating the force. The tool earns its place by making revisions feel manageable, whether you are following instructions or exploring an idea of your own.
Reporting checked September 26, 2026. Plans and programs can change; follow the linked organizations for current information.